
I actually saw this on another blog (I can't remember just where or I'd give them all the credit). It's a very simple experiment and most of the things you probably have around the house.
What's needed:
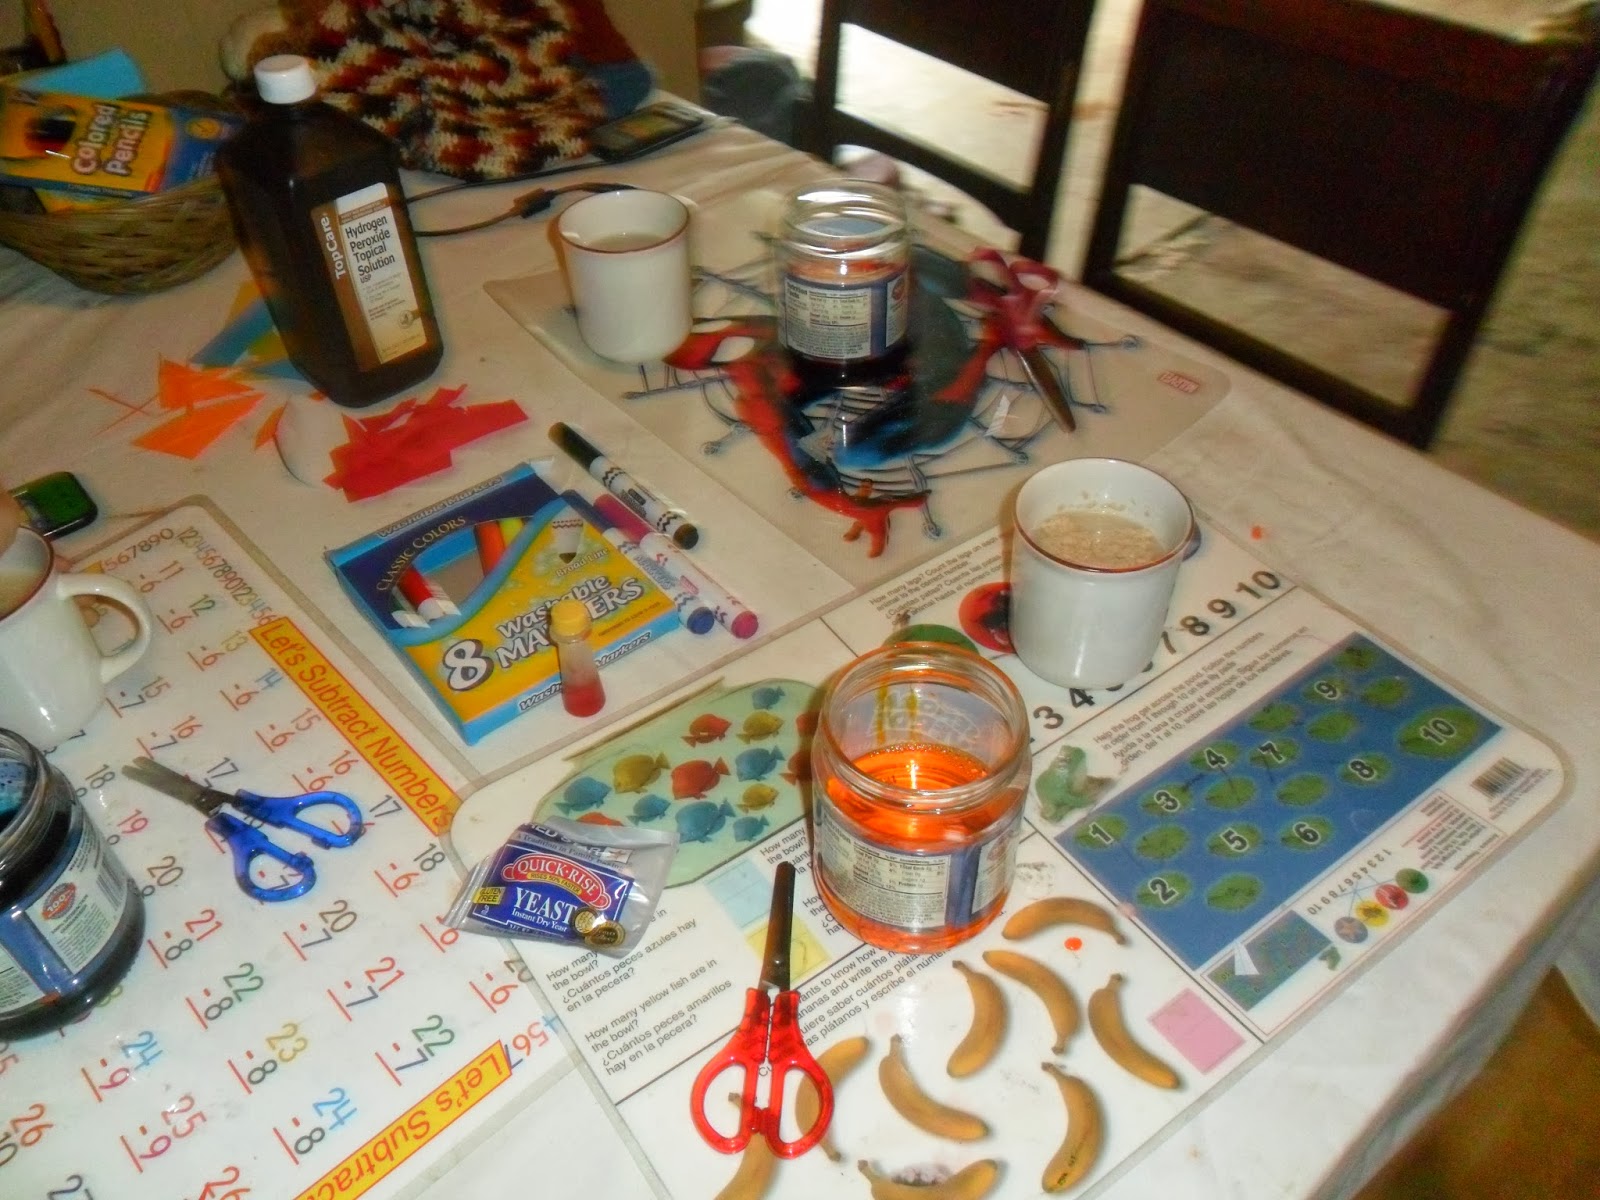
- Hydrogen Peroxide - the 6% solution that you would find in a beauty supply store is said to work best but our regular household Hydrogen Peroxide did the trick.
- Dish Soap - Joy is supposed to work the best but our "from the dollar store" off-brand stuff worked just fine.
- Water - from the tap
- Dry Active Yeast - buy this in a three pack at any grocery store
- Food Coloring - optional
- Empty glass or plastic container to hold liquid
- Cups to "bloom" the yeast in
*These don't have to be contained in a pumpkin, I saw it elsewhere and thought that it was cool. Also if you look up Elephant Toothpaste experiment on the internet ... this is pretty much the same exact thing.

Step One: Gather your supplies and tell everyone what you're going to be doing.


Step Four: Add food coloring into you Hydrogen Peroxide/dish soap mixture. Let the kids add however much they want. (The Cracker Jack's both used their entire containers of food coloring, Peanut used half.)

These are pictures of what it looks like when it begins working...


And here's a picture of ECJ's first part because he was goofy and didn't listen to the directions. So he had simply put the yeast directly into the Hydrogen Peroxide mixture ... we had to fix it by adding some warm water to it.
 |
| I made this one smaller because his pumpkin was really moldy and looks yucky when blown up. |


The kids really enjoyed doing this experiment. There's a chemical reaction that happens and that's why you get the foamy stuff ... although I hear it is a bigger foamy mess with the stronger Hydrogen Peroxide.
This is also safe for even little kids to do. I hope you enjoyed reading about this nearly as much as we enjoyed doing it.

I'm very honored to have been nominated for the Best New Homeschool Blog category in this year's Homeschool Blog Awards. Voting is from now (back at Nov. 4) through Nov. 18. You can vote once a day in every category on each of your devices that can access the internet. Please use the link in this paragraph to go and vote, even if it's not for me ;-) .
And as always you can find us on Facebook here.
No comments:
Post a Comment