
We found out that just using the drier lint smelled horrid, didn't work, and was plain out a waste of our time. I started keeping the stubs of candles we had around the house for when we went camping because the wax stubs really did help the fire catch, but we still had to get it started. After awhile the obvious hit me smack dab in the middle of the forehead, combine the drier lint and the candle stubs and make fire starters! Huge success! Not only do these work but if you're using scented candle stubs they smell pretty good too.
I mention them last week in this post (and a few others) and have received a lot of e-mail excited about the fact that I planned on writing up a how-to post. So here's the how to and it's really simple to do. They're also good to make just for the science aspect of them even if you're not going to be camping or lighting your fireplaces with them.

Supply list:
Drier Lint
Old candle remains
1 large pan
water
water proof container
wax paper
plastic container
plastic forks* (not required but recommended)
if doing the science portion of this you will also need a disposable pie tin
 1. After gathering all of your materials in the kitchen area (so that you're near the heat source for melting the wax and also for easy clean up) put water into your pan and turn on high heat until at a rapid boil. While this is happening take the time to get as many wick and wick "holders" out of your candles as you can.
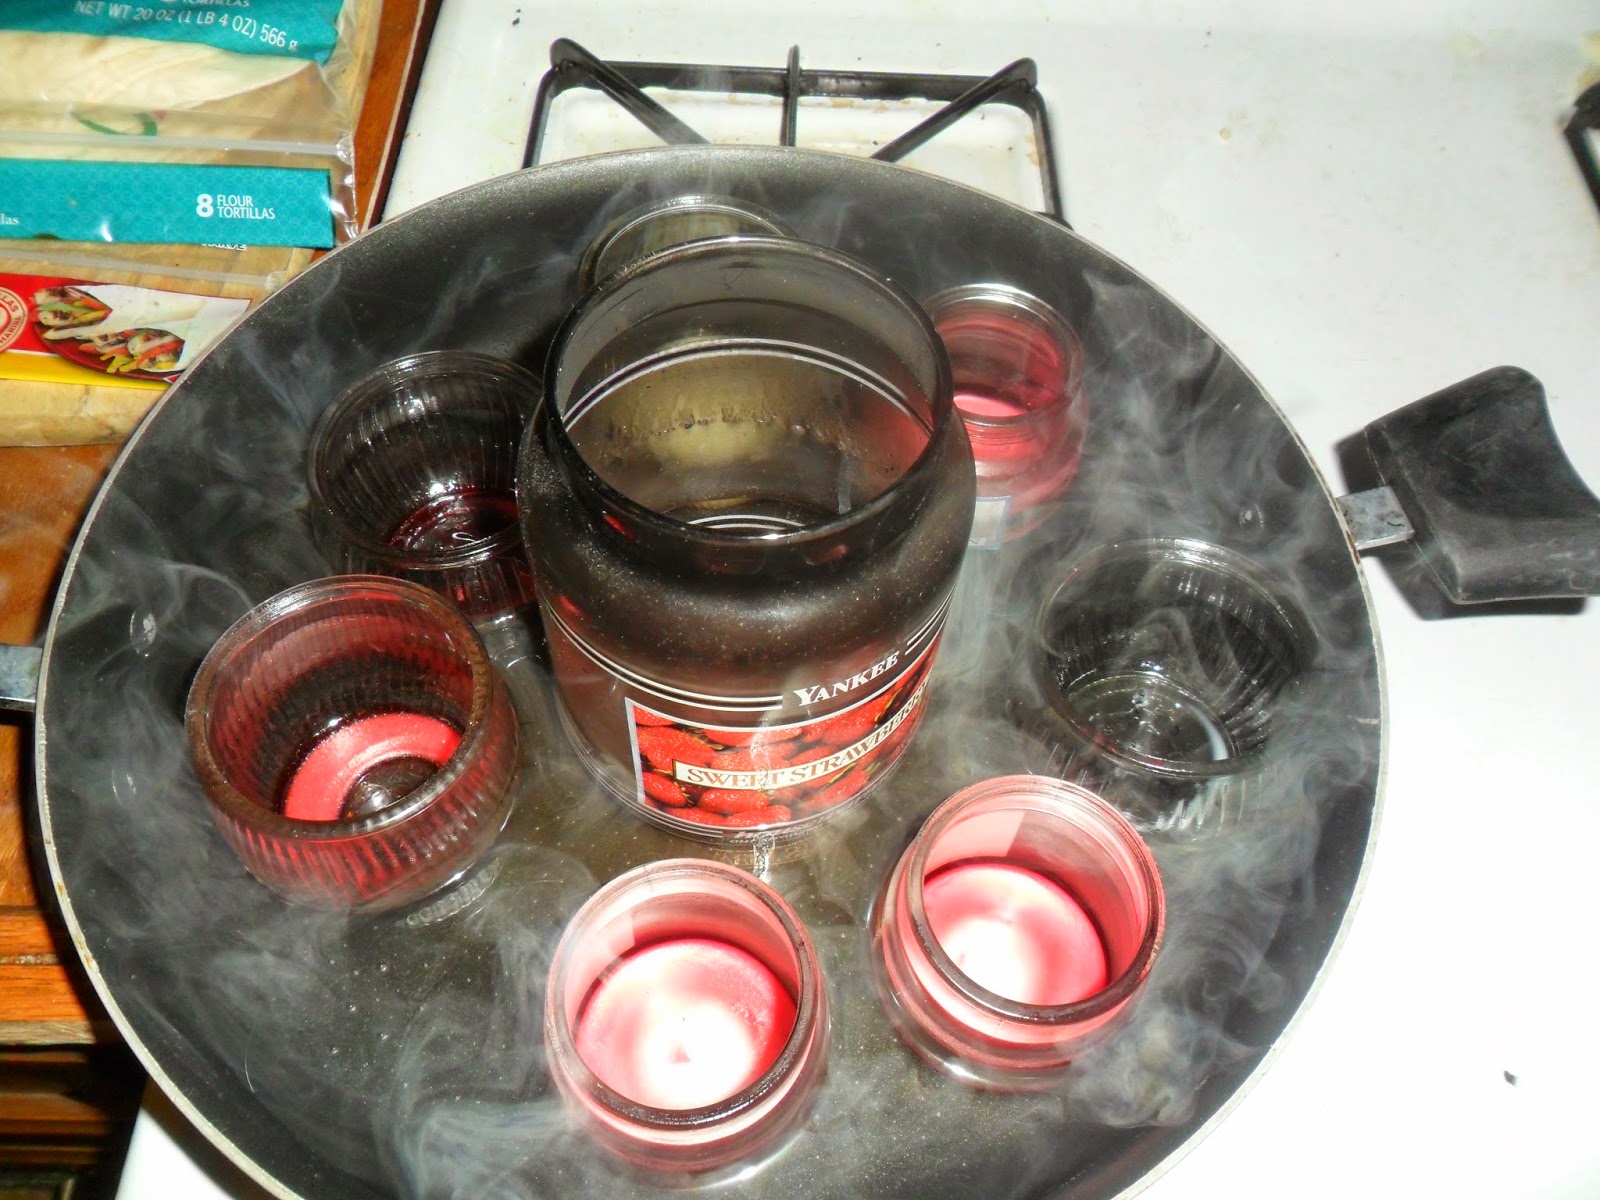 2. When water has reached a rapid boil turn the heat OFF. Wax can do a lot of damage if it's heated too rapidly and for safety's sake it's better to do it very slowly. Once the heat is off put your candle remains in the hot water (if doing this with regular stubs place them in a small glass container first). Now, it's the waiting game until the wax all melts.
 3. As the wax melts dump it into a plastic container, don't worry if you end up having to do several melting and dumping steps you can always remelt the already warm and still partially melted wax while it's in your plastic container. Just place the whole thing back into the hot water. Make sure if you need to do this step that you keep the plastic container moving so that it too doesn't begin to melt.
 4. If doing the science portion this is where your first bit of drier lint and that pie tin comes into action. If you're not doing the science portion skip to the next step. Place pie tin on the stove top so that you know it's not going to fall. Put one piece of drier lint (not fluffed) into the tin, one that is "fluffed" into the tin, and then dip a third in the wax and place it in the tin. Call the children over and have them make hypothesis and observations on what is going to/is happening. Light the non-fluffed lint first, watch how quickly it burns and then goes out. Second is the "fluffed" lint, again watch how quickly it burns and then goes out once lint. (This does smell horrid by the way, just a quick warning to you.) Finally, light the wax dipped lint and notice what happens. This is also a good step to do if you'll be using these to start campfires or other fires in fireplaces etc. It really explains visually why you're making these.
 |
| In this picture they'd already started making them. |
5. Break drier lint up into quarter to half dollar sized bits and place one at a time onto the plastic fork...
 6. Dip each lint piece into the wax individually until fully coated (you'll be amazed how much wax sticks to each piece). Then carefully remove with the plastic fork and set to dry on the wax paper. Even younger children can do this with some supervision. *The small plate is under the plastic container just to protect the table a bit more from the warmth of the wax as that table is near 100 years old.*
7. When all, or most, of the wax is used up with the lint allow the pieces you dipped to dry on the wax paper and dispose of the leftover wax and the plastic forks.
 8. Once pieces are dry place them in a jar or other water proof container (we used three of the small candle jars that still had lids). Close up and put somewhere safe until you're ready to use them. You do not have to cut the wax paper, these will peal off of it really easily.
You can carry the science experiment a bit further by seeing how best to use these and under what weather conditions they work best. As well as probably a ton of ideas that my brain simply hasn't thought of.
We use these often while camping under a bit of regular tinder, or we place a few in strategic places in the built (but not lit) fire circle and then light the wax. Within minutes you should have a cheery fire going with minimal fuss.
I hope that you'll find these little gems as useful as we have.
Linking up with Squishable Baby

Find us on Facebook here or subscribe to the blog for tips on homeschooling, book reviews, how to get your children helping out in the kitchen, and to see many pictures of the cute kiddos, plus much more!
Cool idea. We have a woodstove and love camping, so we should try this. My kiddos are a bit young for making it on their own, but I bet they would like helping me stir. Thanks for sharing!
ReplyDeleteGlad that you guys might find a use for them. We sure like using them, plus it gets rid of a lot of excess waste. Waste not want not and all that lol
Delete