So, we went to the zoo! But, that didn't happen until Wednesday and you can read the full post about it here.
Saturday our day looked like:


Sunday our day looked like:

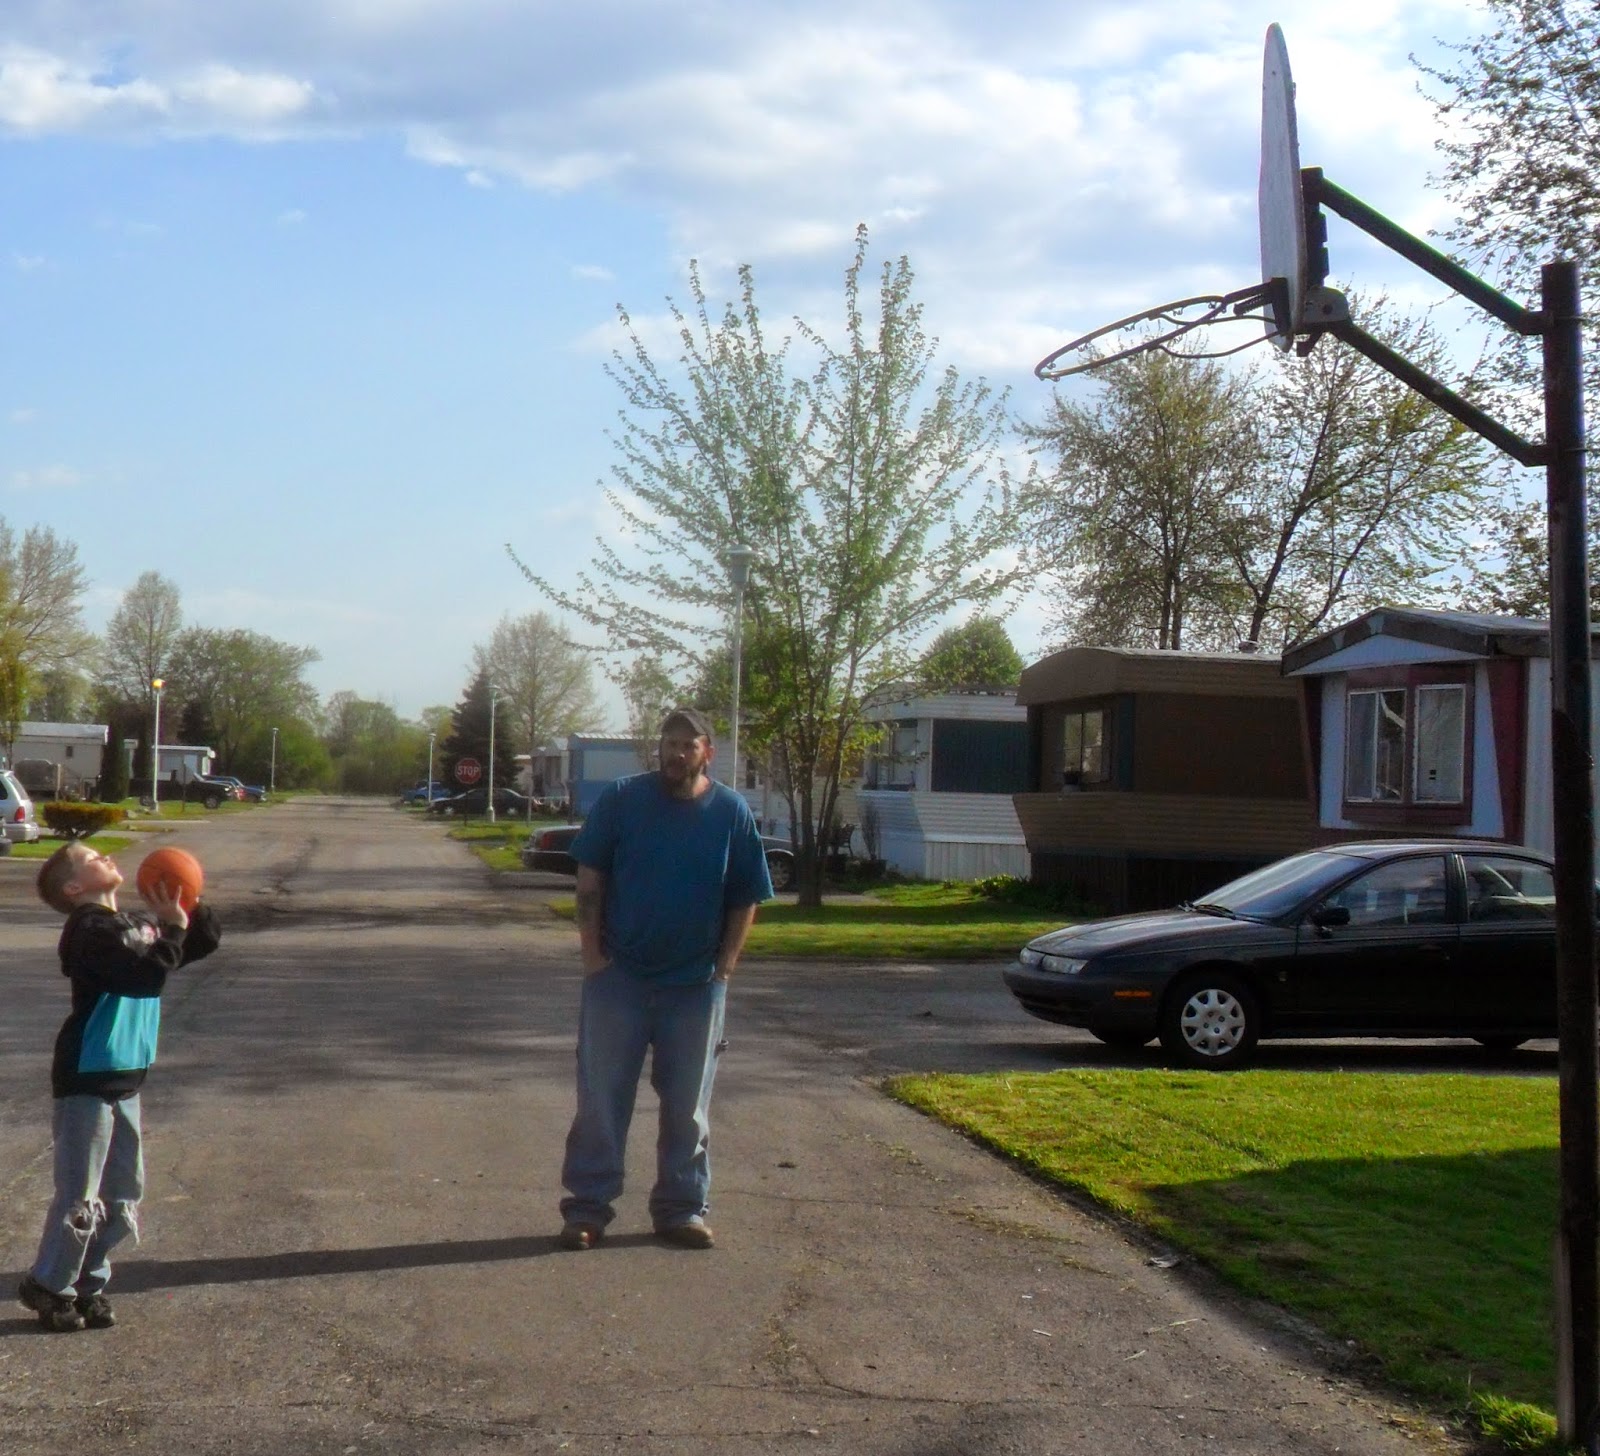
Which happened after we cleaned out the shed and organized it. Daddy kept taking breaks while BBQing to play hoops with ECJ.
Monday looked a lot like this:


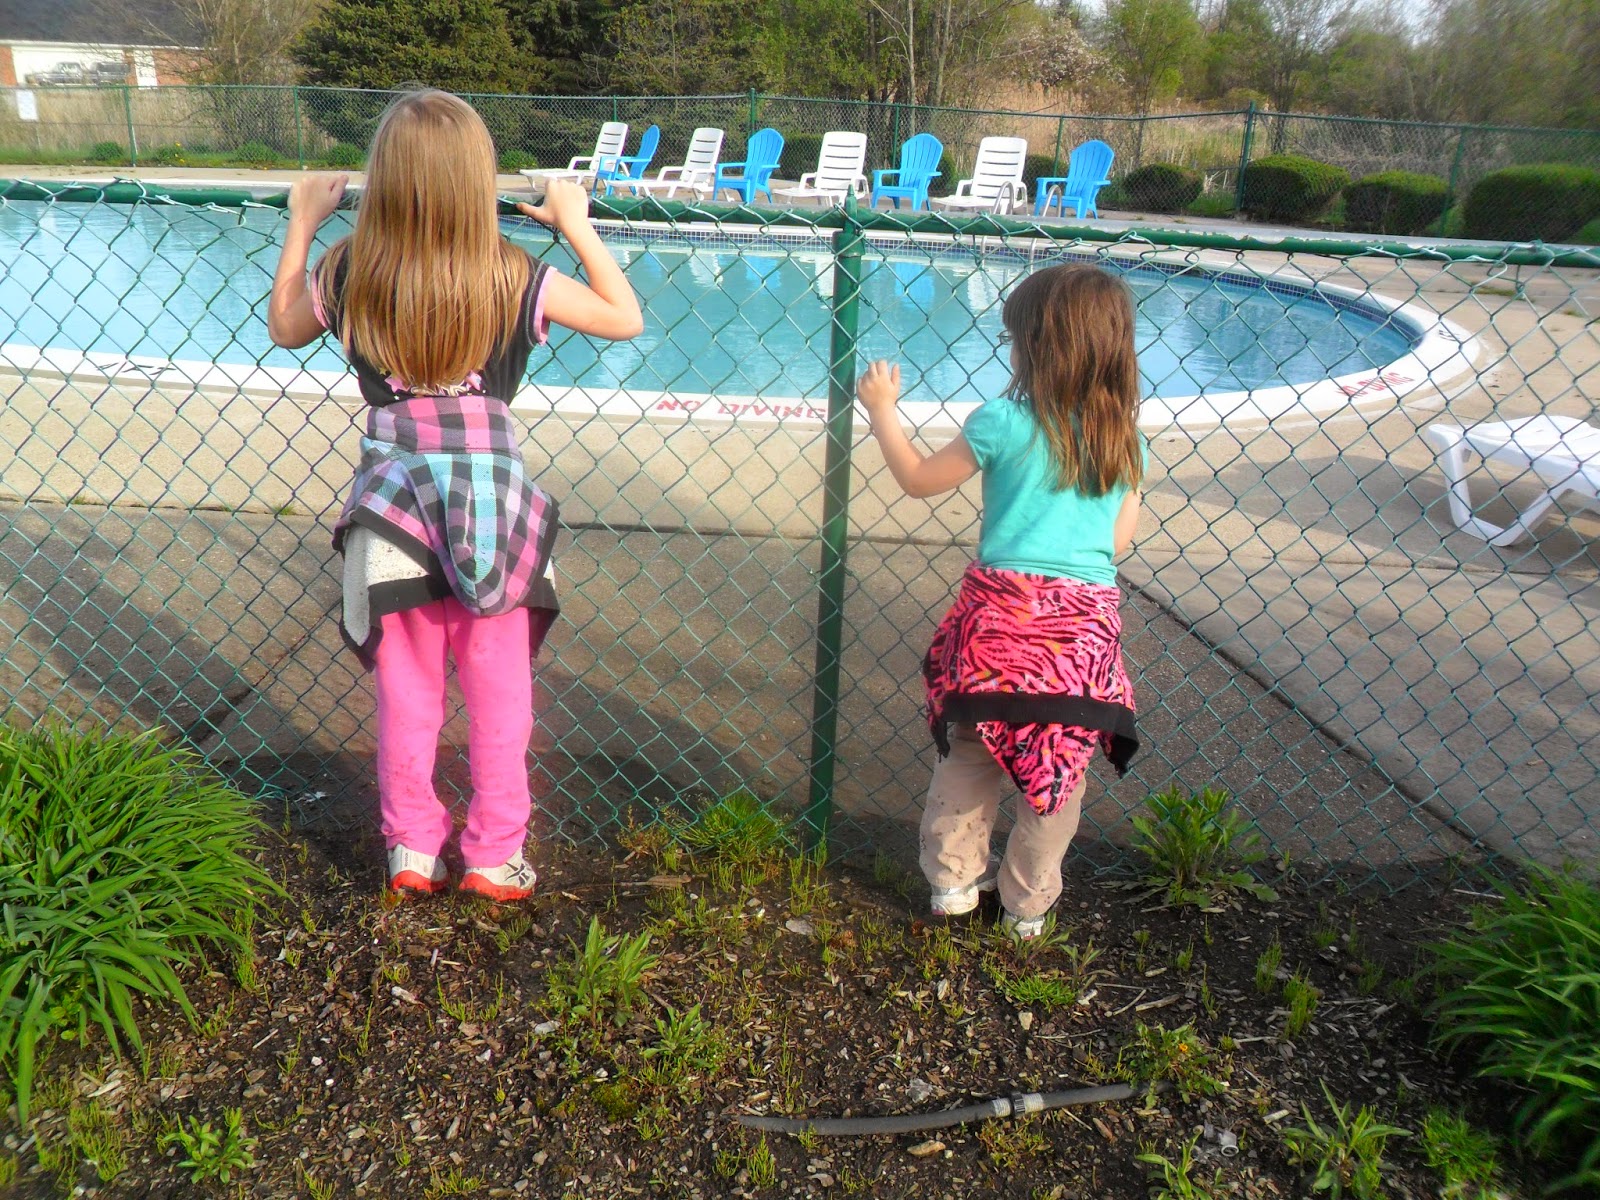 Only in between the dressing of the cat, snuggling with the dogs, pretending to nap on the floor, and playing outside we actually got our lessons finished! History got read after Peanut's night time medicine for her migraines and the girls were in bed by 8:30 PM. ECJ spent some more time with Daddy and then I got a bunch of crochet work done!
On Tuesday it was rainy and a bit chilly, the skies were gray and everyone was back in pout mode. We had some interesting lesson moments...


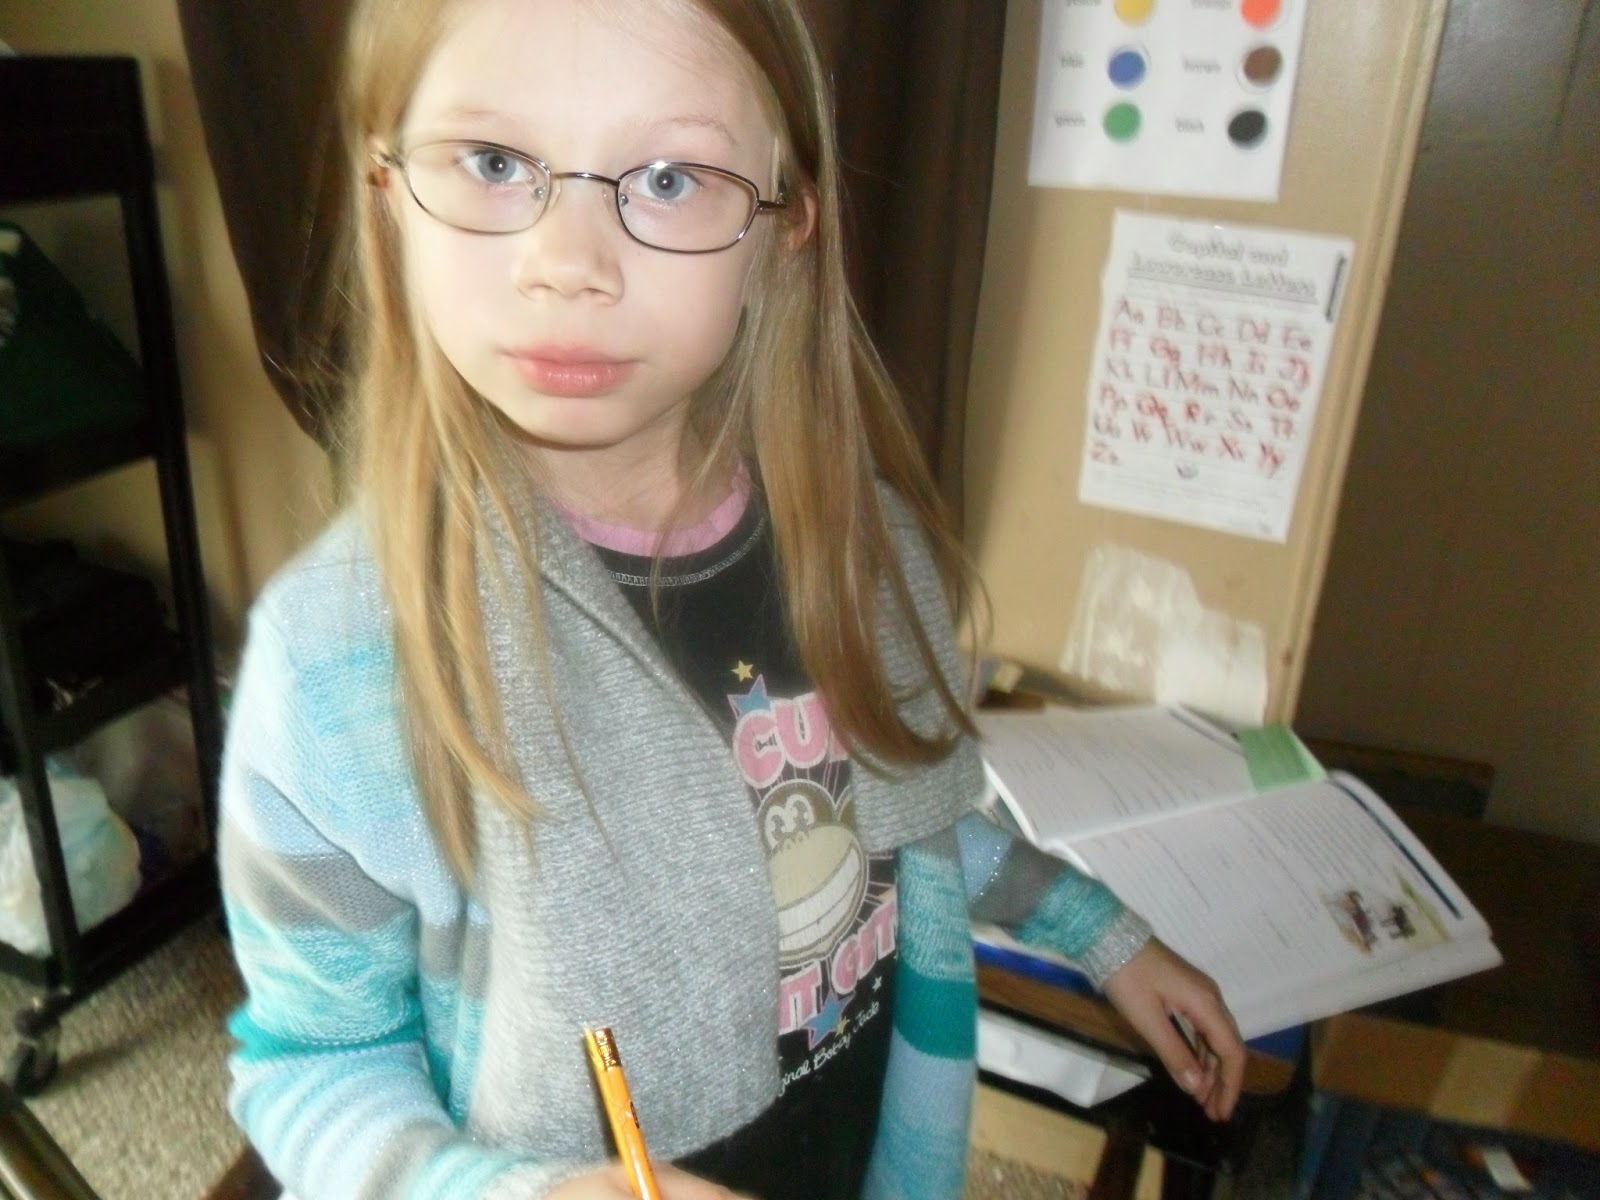


YCJ did just fine when it came to her English lesson today (which is a relief) but for her math lesson of one page of review she was everywhere! It took her over an hour and a half to do that one page! Floor by window, floor by living room table, couch sitting up, couch laying down, and finally I put my foot down and she was back at her desk. We did enjoy watching the neighbor begin work on his fields though!!
If you clicked over to Wednesday's post you know already just how our day went. If not... we'll wait...check it out :-)
OK, so now that we've covered Wednesday, just what happened on Thursday? Well, they say a picture says 1000 words. That makes Thursday's pictures about 3000 words worth!
 |
| Singing part of the Frozen soundtrack "I've started talking to the pictures on the wall!!!" |


So, now it's Friday and instead of getting into everything we'll be doing today let me just go ahead and tell you it will involve lessons, outside, and fun.

 I promised online on our Facebook Page that I would be including some simple crochet instructions for covering headbands. Before I put the instructions (and pictures) in I thought I'd give you a few links to videos on YouTube that will help all of you who don't know the stitches figure them out. :-)
Chain Stitch
Single Crochet Stitch
Joining with Slip Stitch
Those are the three stitches you need to make these. And here is your list of supplies:
 |
| I buy this pack of 4 at Dollar Tree for $1 |
- leftover yarn or simply yarn in color and textures you like
- size F crochet hook
- scissors
- yarn needle (for putting ends in)
- a plastic headband
- and needle and thread (if you're sewing on an embellishment)
And here's the easy instructions!
Chain (ch) 9
Single Crochet (sc) in second chain from hook and single crochet in each chain until the end - 8 stitches.
Chain 1, turn your work (so that your working the opposite direction) and single crochet 8 all the way across.
Continue the same way until you have 66 more rows ... 8 stitches in each row

I measure after I get to this point. You want to make sure that you have a row or two on each side of the headband extra to work with.
DO NOT FINISH OFF HERE!!!
If you're adding a flower (as I have) or a bow you'll need to do so now. The flower pattern I use is not my own, I got it from a book called Stitch 'N Bitch Crochet The Happy Hooker (the good kind of hooking with a needle and yarn, and the b word in the title means they stitch and talk). BUT if you'd like a couple of flower examples here are some I found on YouTube...
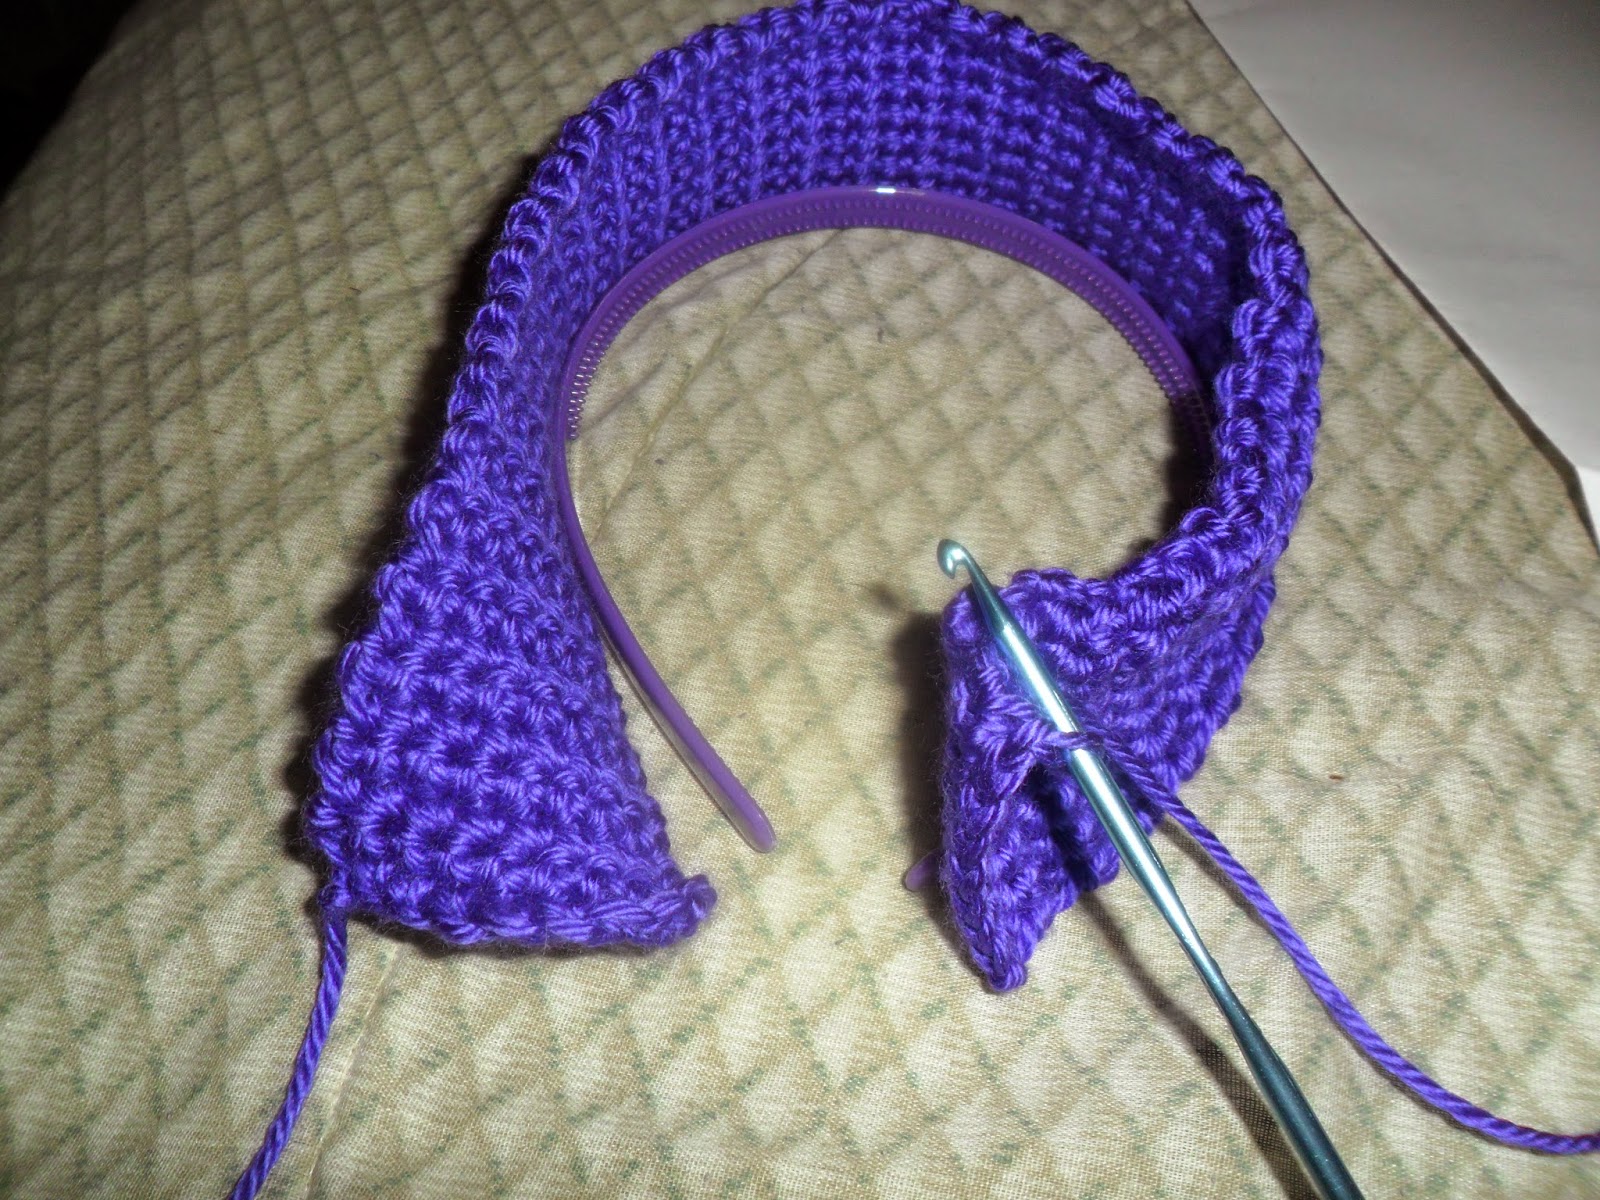
So, I attach my flower like this:


I use the yarn needle (I prefer metal but they make plastic too) to thread the loose yarn to the back of the main piece of crochet. I take two ends and tie a knot in them. Then I use a regular needle and thread to stitch around the center of the flower to give it more stability. I match the thread color as close as I can to the color in the center of the flower...
Next you fold your main piece of work in half (in my case the purple bit) and stitch together using the slip (sl) stitch. The most important part here is to keep your stitches evenly spaced as much as possible.
Leave about 1" not stitched together so you can thread the plastic headband through like this:

And then finish the long side and your short side with the slip stitch. This is kind of tricky at first since now you're working with a hunk of plastic in your material...


When you finish with that and you fasten off (tie a slip type knot in the end of your work) you need to fish as much of that "tail" into the inside of your headband. When you can get anymore in (don't leave the needle inside) just snip off the end.
Work the material around until it's not all wrinkly and you've completed your very first covered head band (or your very first crochet project!)!


If you made it this far thank you so very much!
Random good/goofy photos:
 |
| They now have use of YCJ's old air mattress |

 |
| These are some new additions to her penguin collection!! |
Posts you may have missed this week:
Linking up with:
and
Great Peace Academy (Saturday)
Find us on Facebook here or subscribe to the blog for tips on homeschooling, book reviews, how to get your children helping out in the kitchen, and to see many pictures of the cute kiddos, plus much more!


