Grandma and Papa stopped by on Sunday to visit and give her their gifts...


They were here for almost an hour and YCJ loved every minute of it! Of course, we all did but she reminded me after they left that they surprised us last year the same way and she really likes that they do that.
 Monday we read, we prayed, and we discussed Memorial Day. We talked about our veterans, the ones who didn't make it and those that did. We talked about freedom. We talked about our service men and women who are out there every day trying to keep our country free. There were plenty of lessons this day, just none done out of a text book.
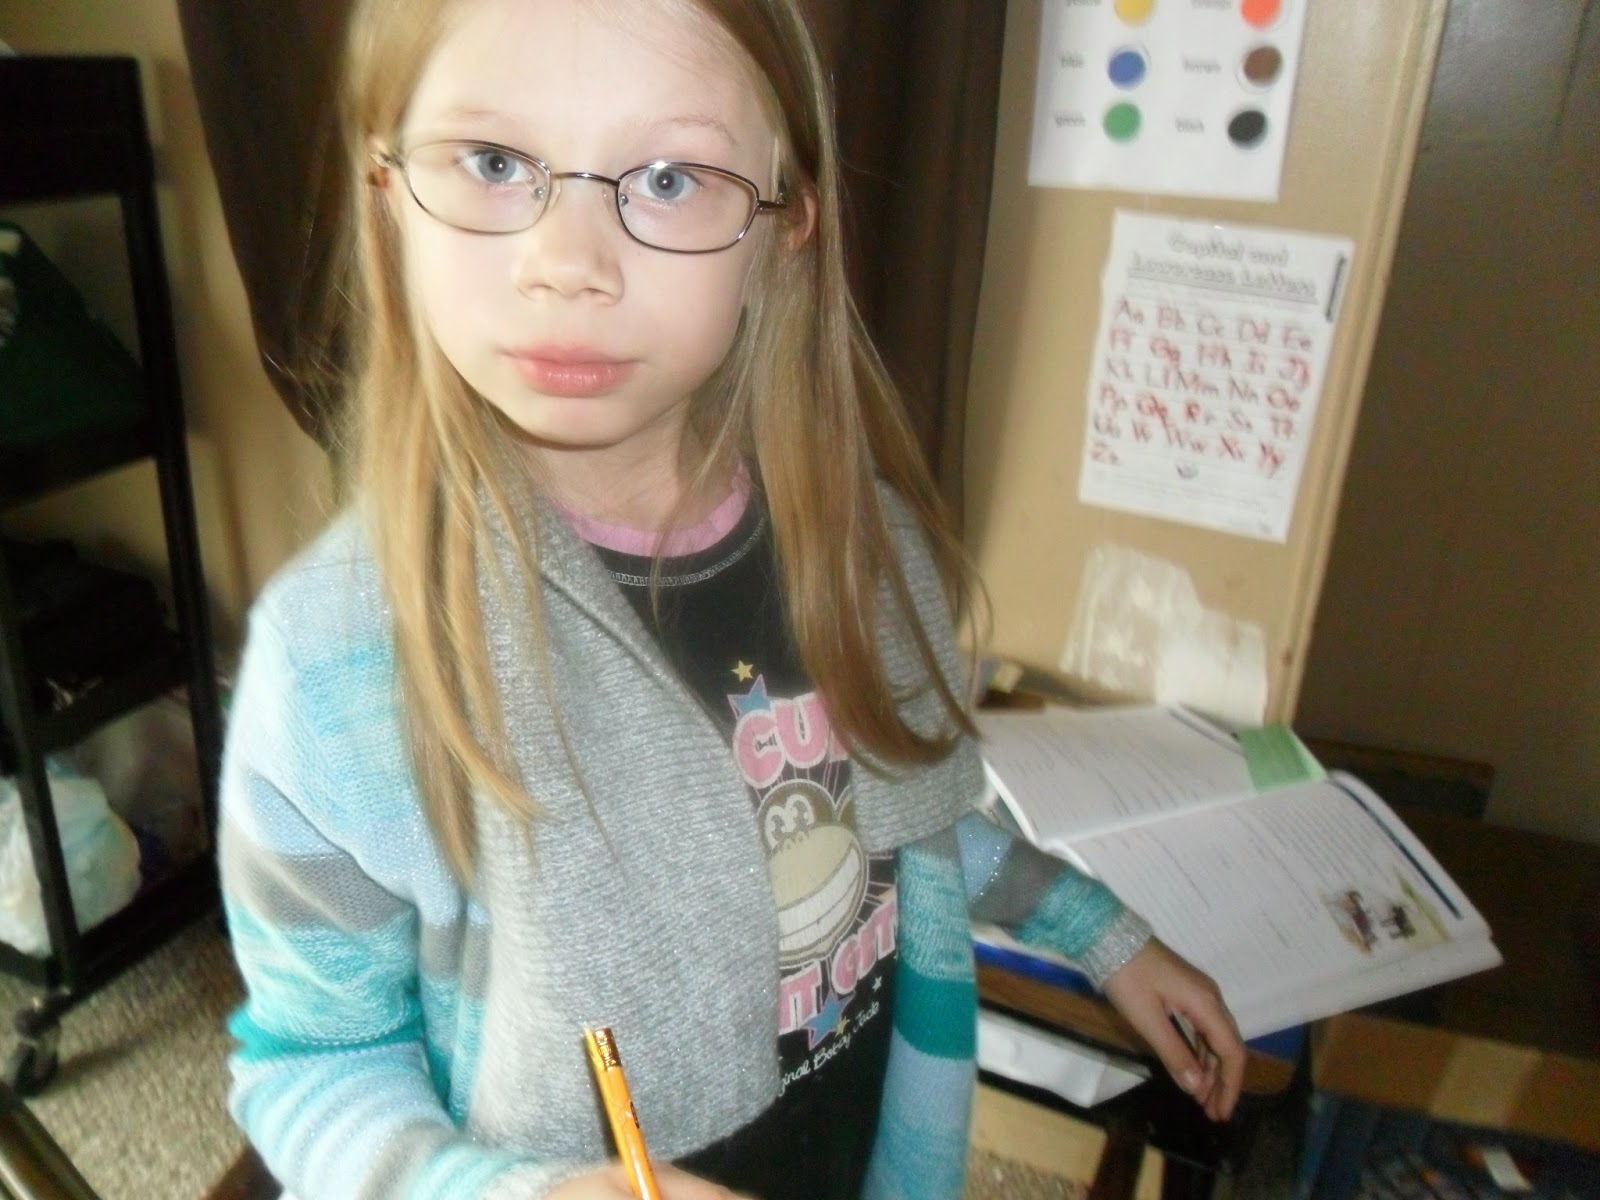
Tuesday was YCJ's actual birthday! But, she woke up feeling icky...


She still wasn't feeling up to par on Wednesday, so we called a quiet day and everyone relaxed, read, or did something else quiet all day long pretty much. We did get outside some towards afternoon once she was feeling a bit better. Mainly her issue is allergies mixed with sinuses, she did have a small low grade fever that tried to hang around but by Wednesday evening it was completely gone.


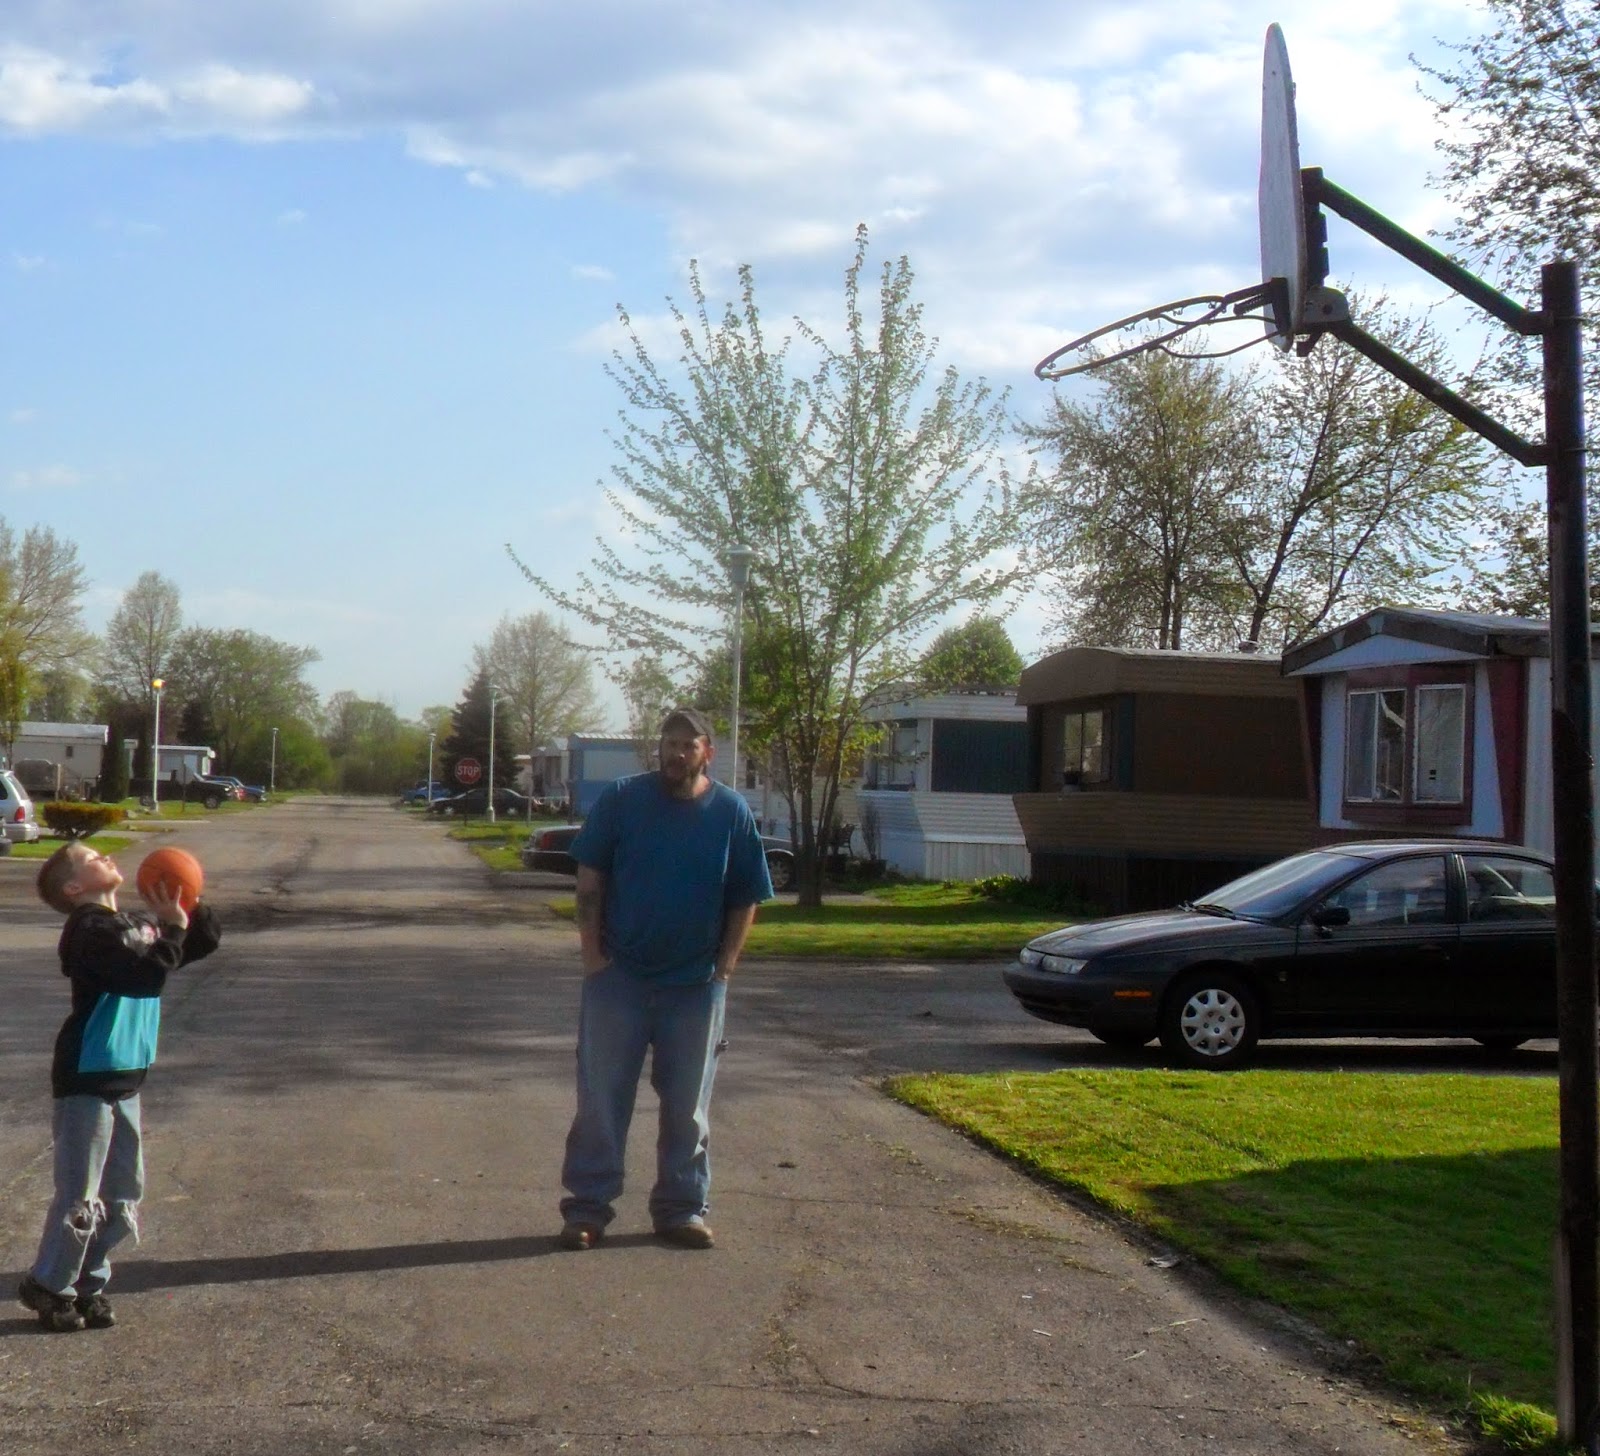
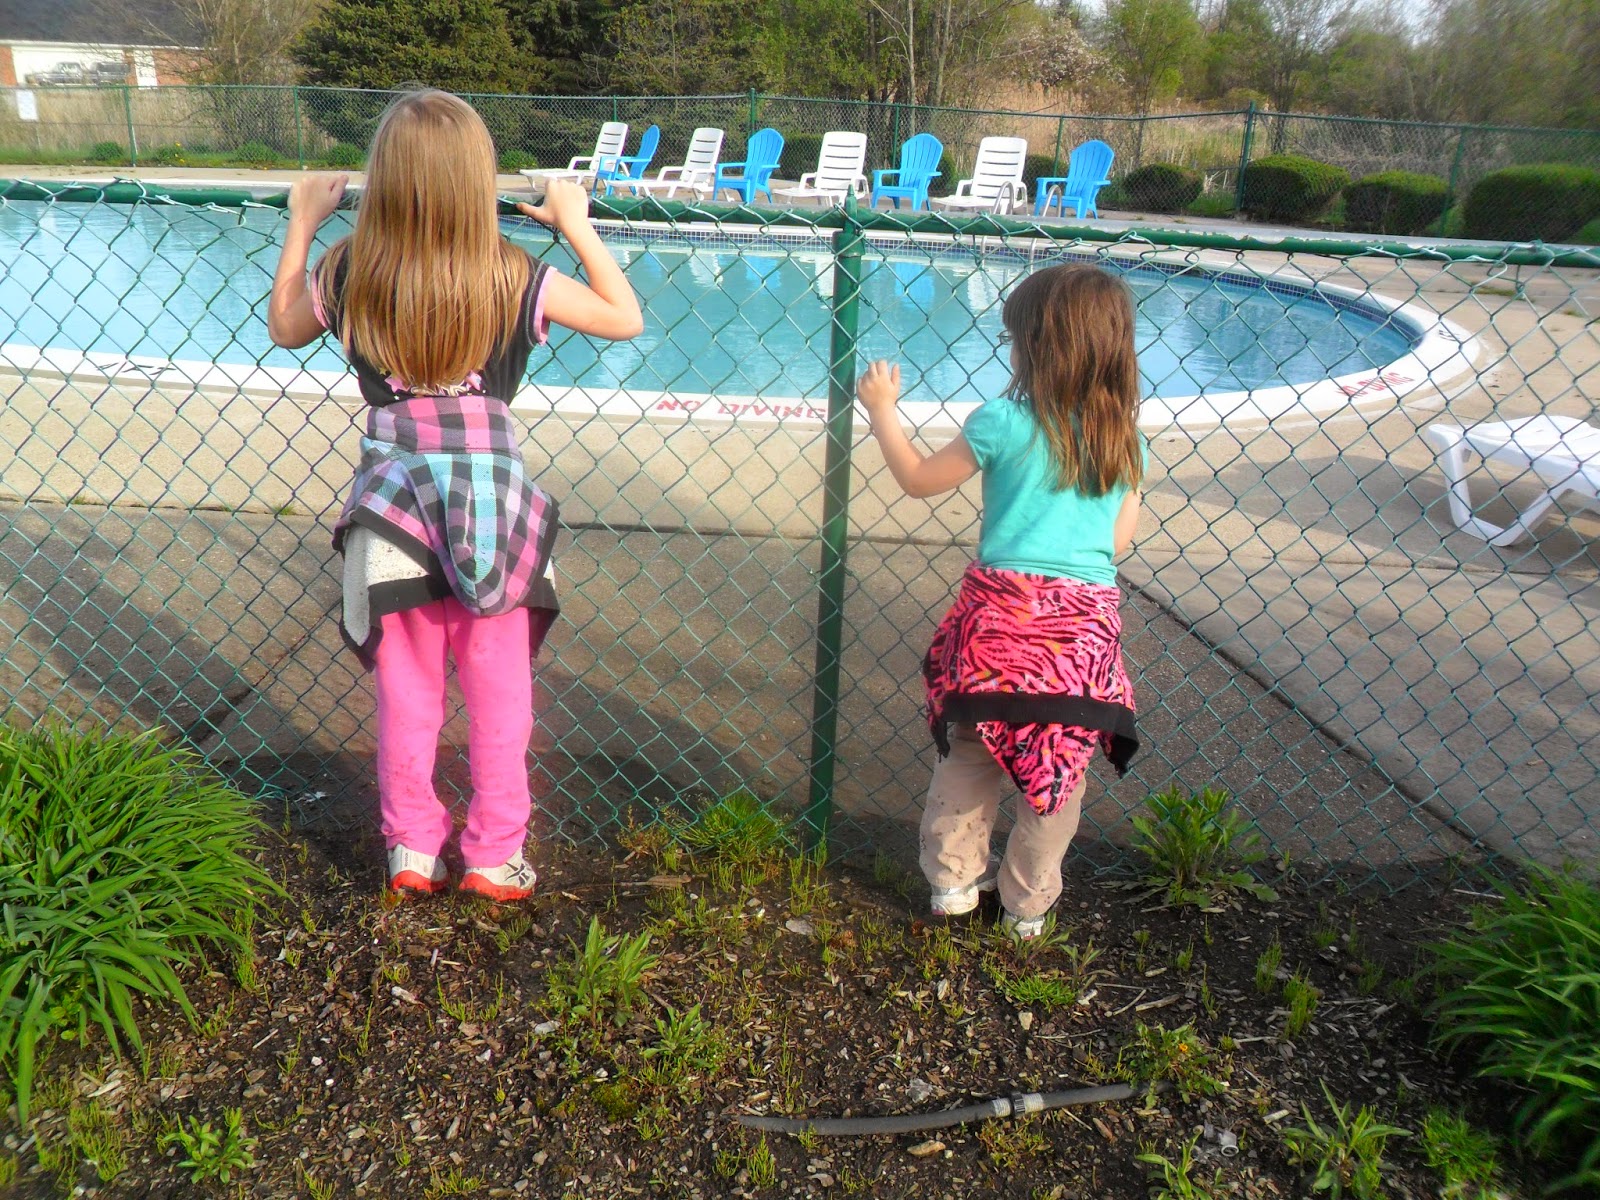
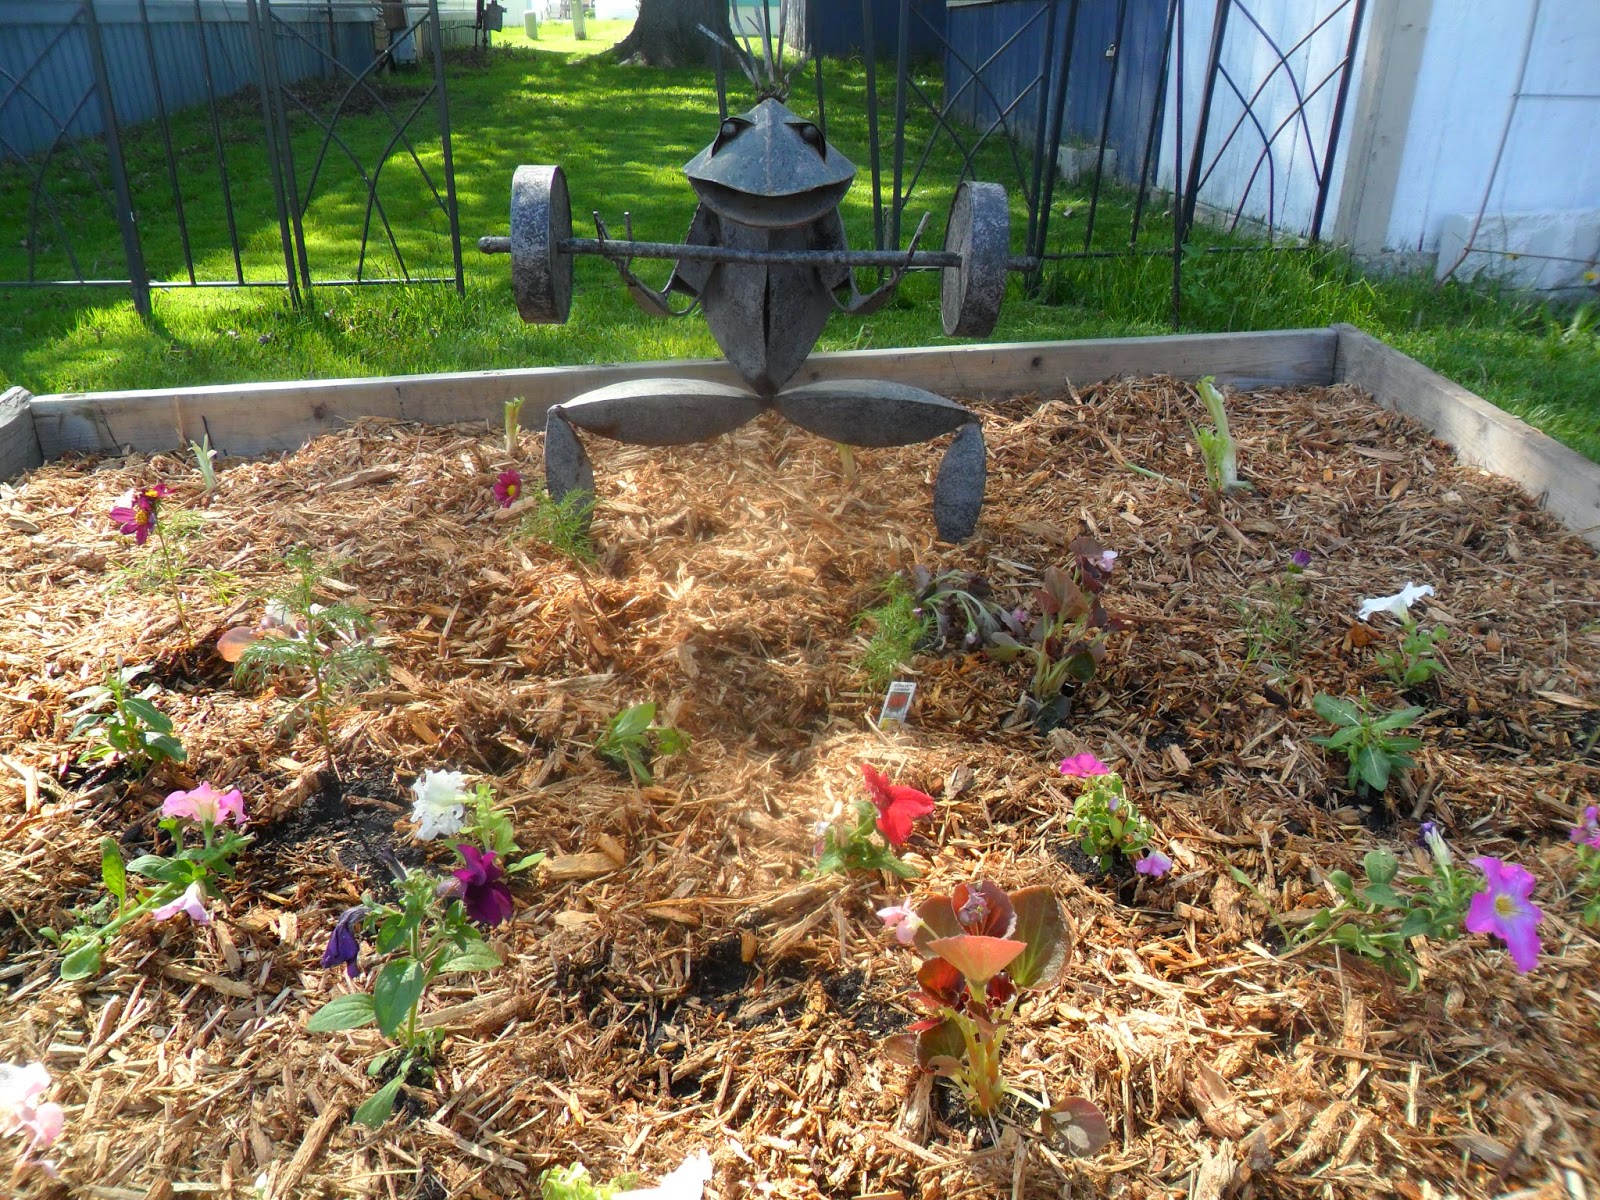
 Thursday was a horse of a different color all together! Daddy took the campers outside super early and they played for several hours. Mommy rested, I've been looking after our home and children along with the neighbor who just came home from surgery last week on almost a daily basis and it was beginning to wear me down a bit. When the campers came inside for lunch they spent a little while cooling off and ECJ got into the nail polish game and painted his sister's nails with designs; stripes, smiley faces, and dots abounded! After we went back outside The girls and I went to pick up some top soil with the wagon. Then we laid out, put together, and filled a small flower garden for part of the front yard. Then of course we had to toss in a frog statue that I love, a trellis (for a future climbing plant, and some solar lights in each corner!
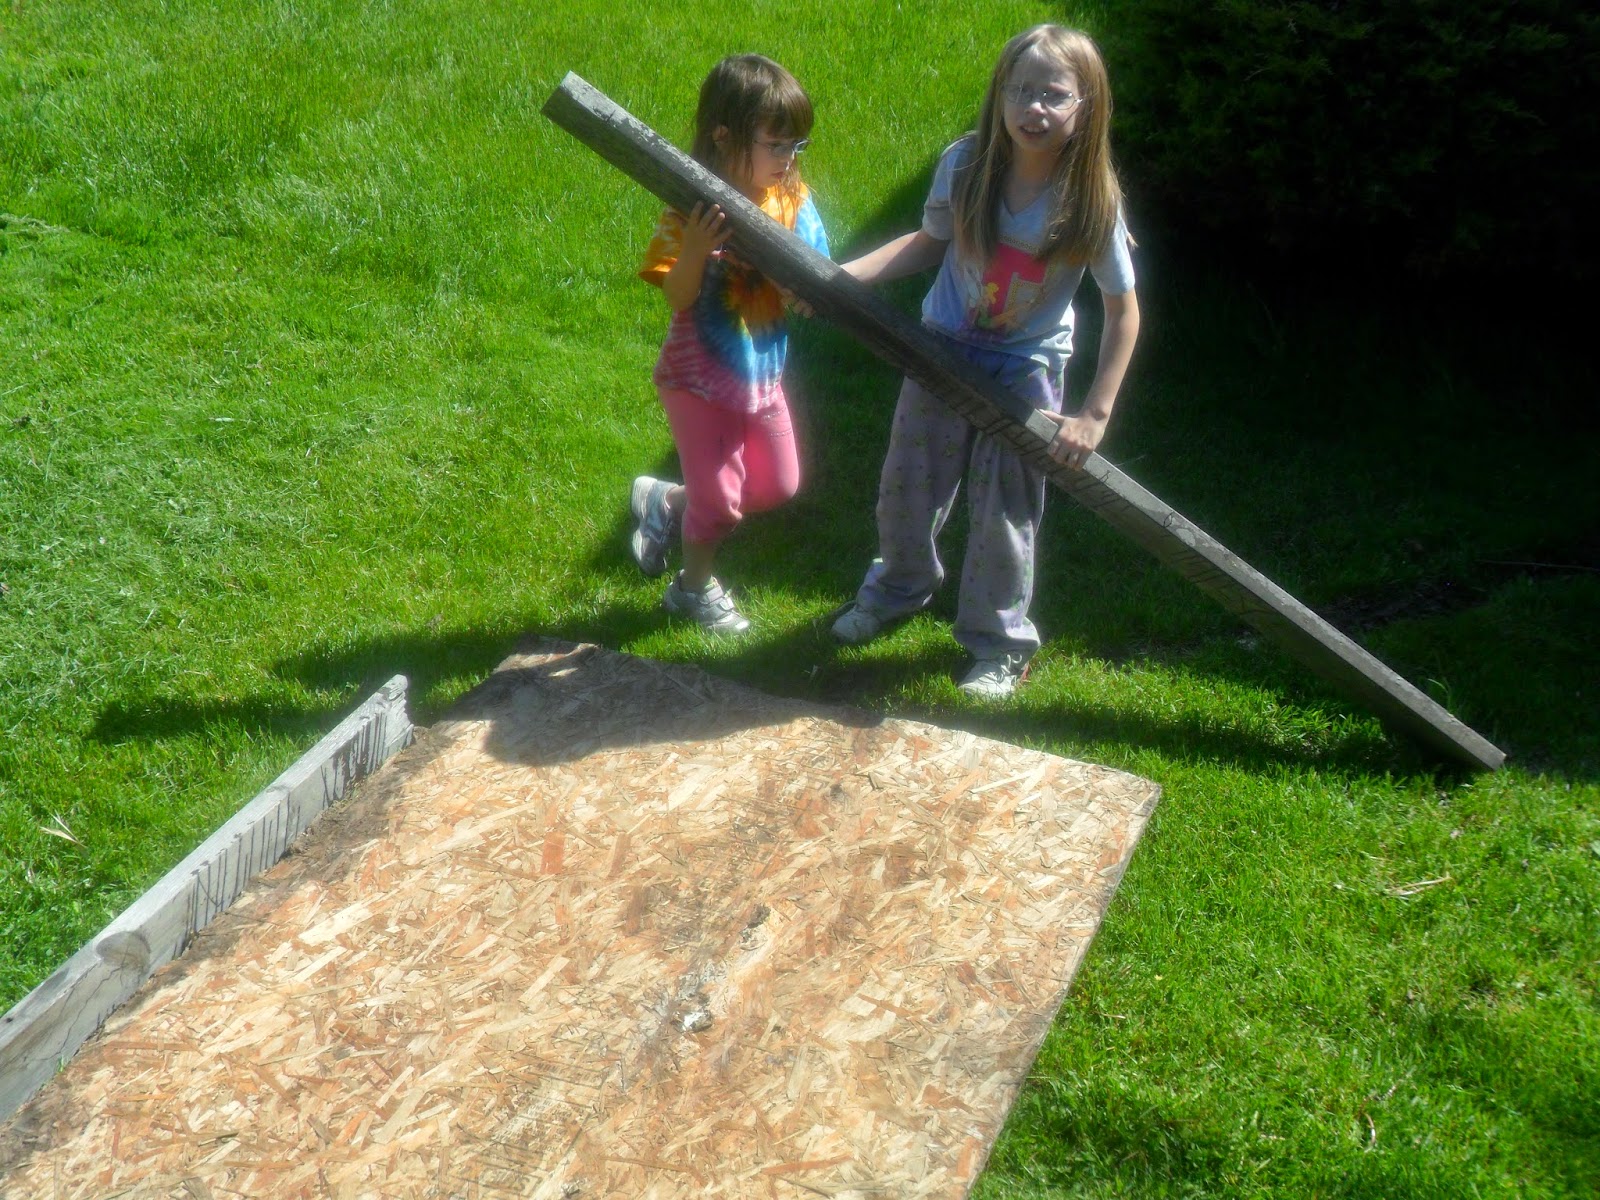


We were outside for a little over ten hours!!! We did manage to review some sight words (Peanut and YCJ), read/work on phonics, and do some of our read aloud as well.

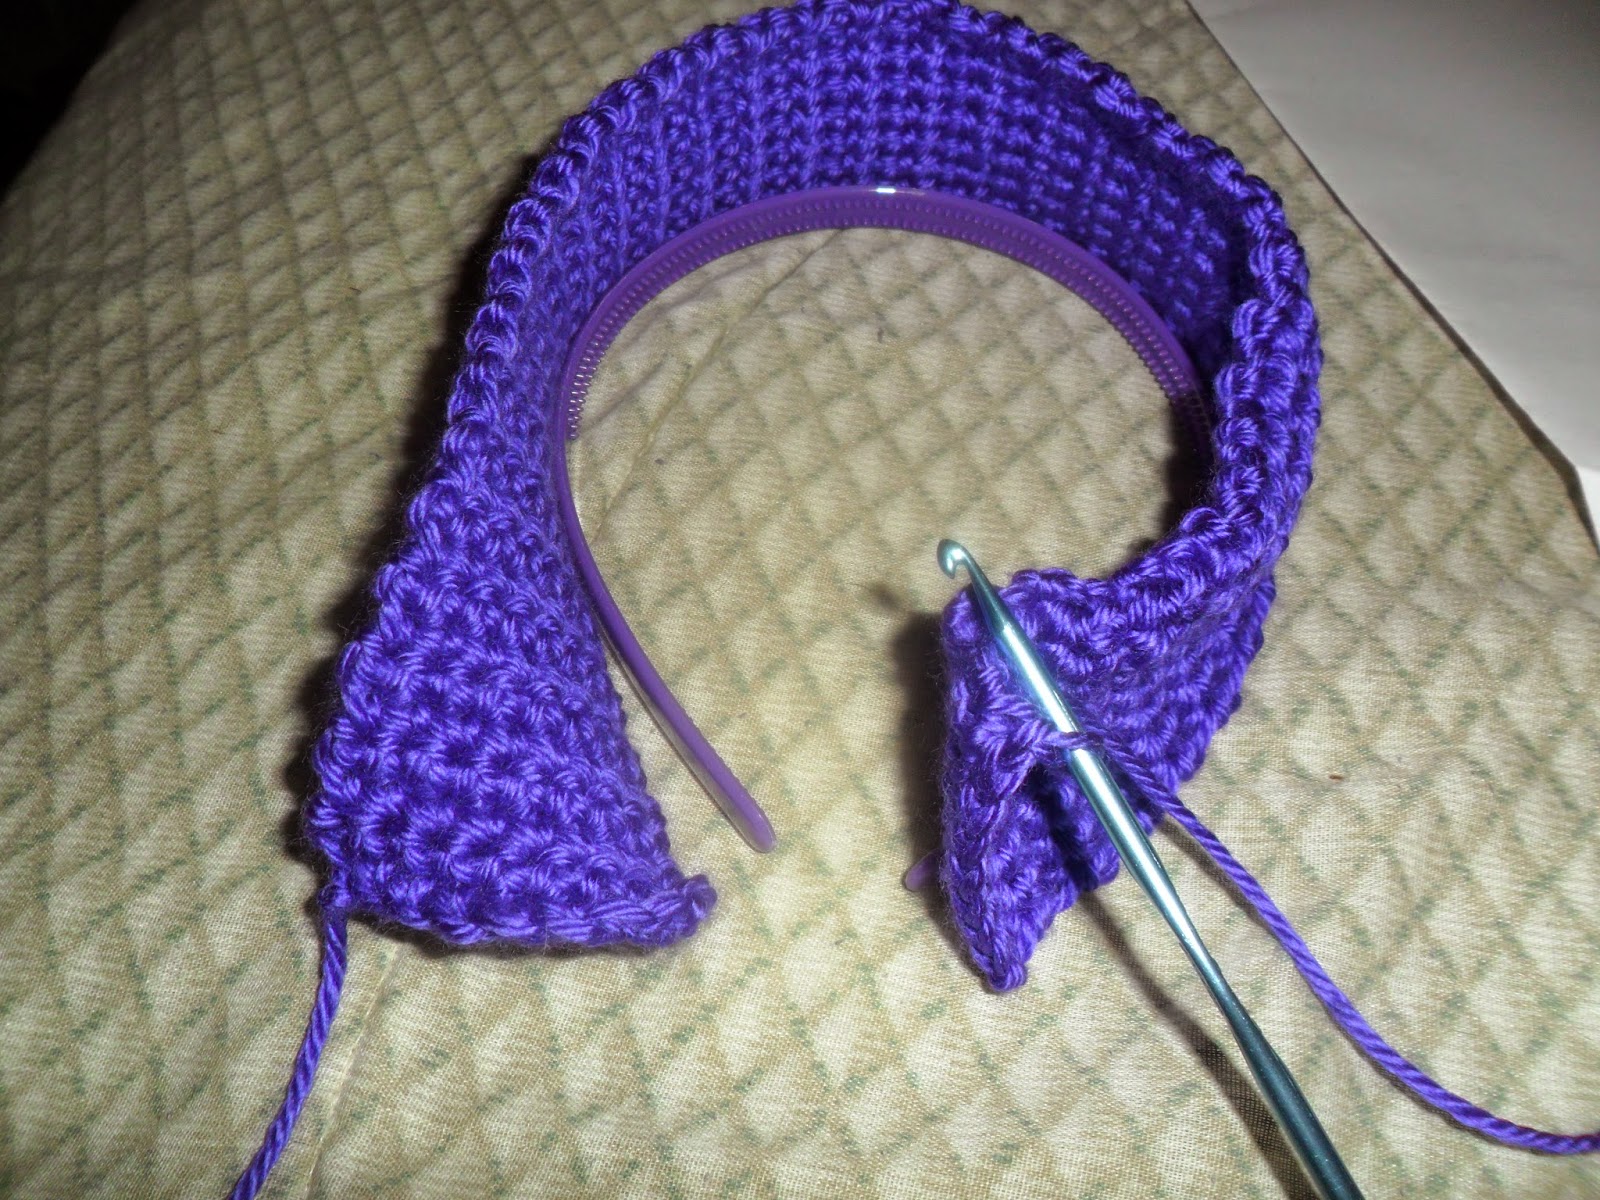
Today (Friday) we're planning on another day of rest. Perhaps some nature walks and perhaps not. All of the campers are sniffling due to allergies or sinuses, Daddy and I are still exhausted from everything else that's been going on, and I still have to finish some of my crochet work for YCJ's outfit. So, for now I'm going to get off of this computer and go relax. Perhaps after lunch we'll take a walk. Sometime today we'll do some sight word review and I'm sure all of us will be reading or crafting other than that.

While we weren't planning this to be such a laid back week, lesson wise, I'm really glad that it was because it enabled us to take a step back and simply relax together (when we weren't called upon to do other things outside of the home).
Find us on Facebook here or subscribe to the blog for tips on homeschooling, book reviews, how to get your children helping out in the kitchen, and to see many pictures of the cute kiddos, plus much more!
Linking up this week with:
Weird Unsocialized Homeschoolers
Squishable Baby
and
Faithful Mom of 9