
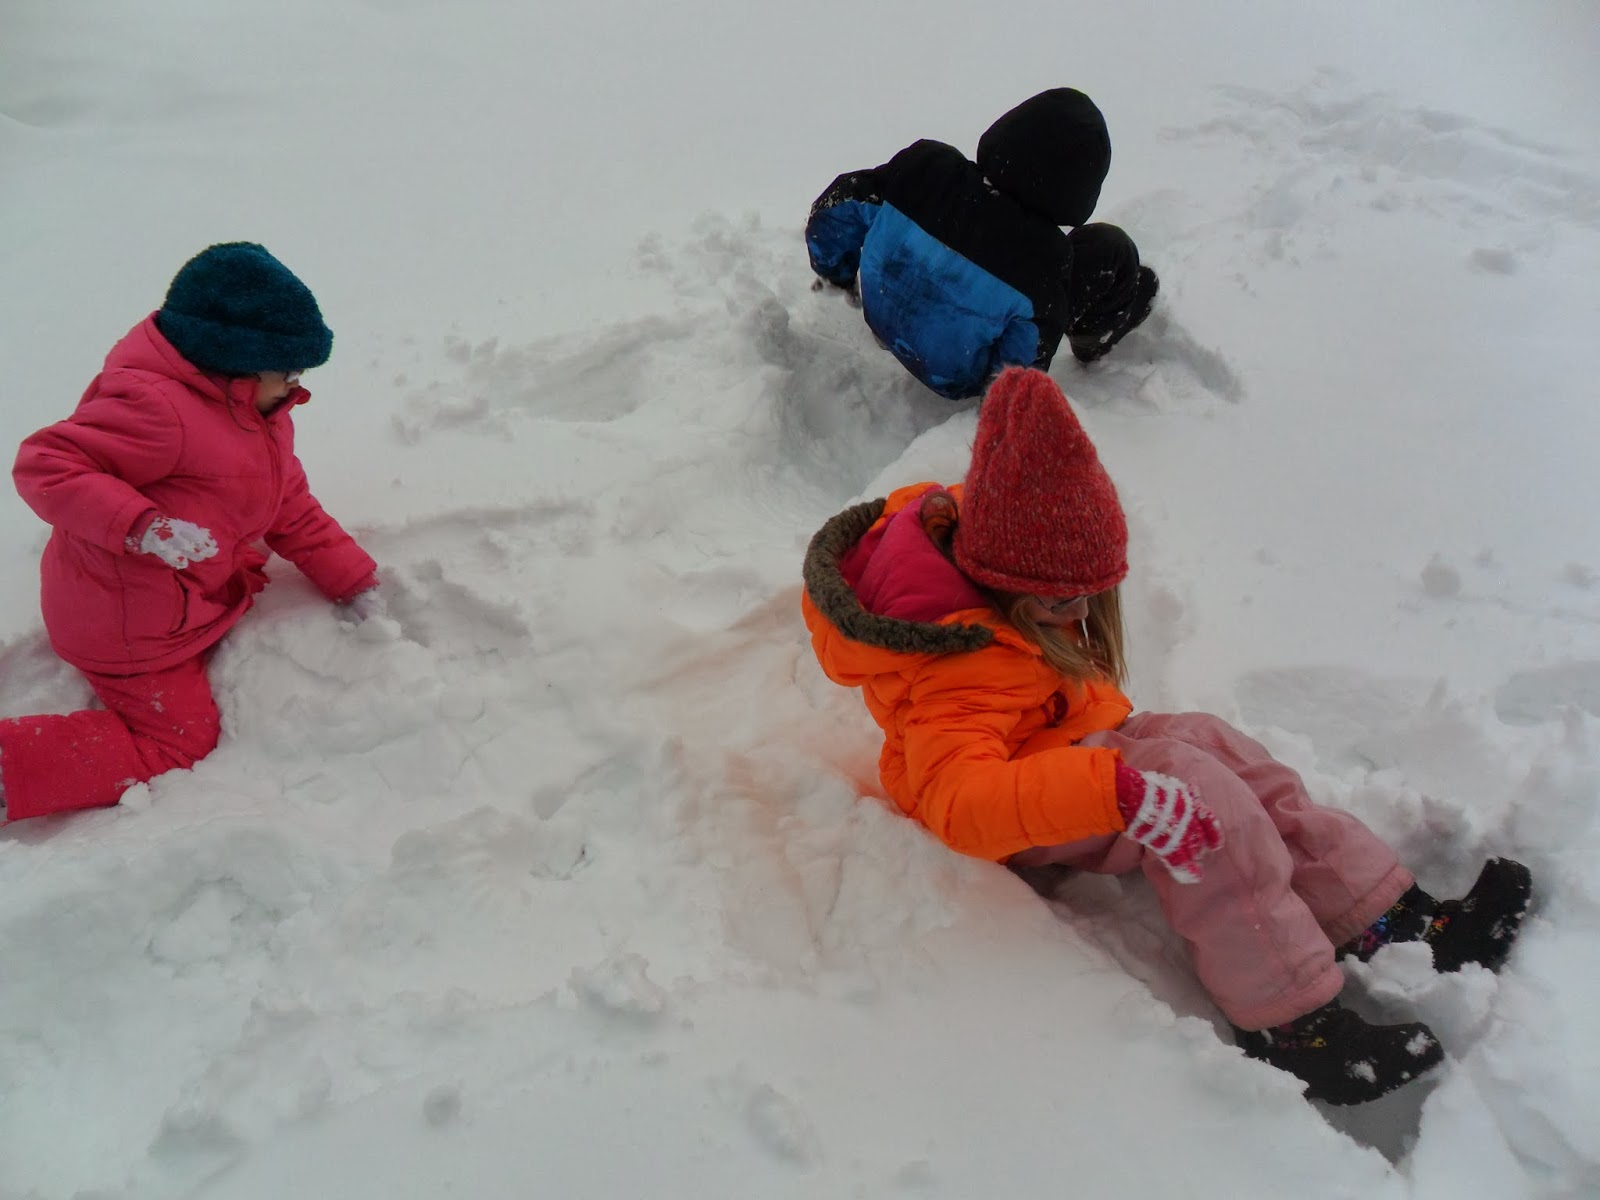
 We made a snow angel "snowflake"! If I could have conveyed my idea to the children better, or we'd had one more child, this would have looked even better as it would have been more symmetrical. While they were making this they pretty much looked like a giant multicolored snowflake. OH, and tons of snow got inside of boots and up sleeves from them being so close together. I apologize for the lighting on the finished product, a giant cloud had passed overhead and made it much dimmer. I have not been able to figure out how to "fix" this picture. (#23)


 We built our snowman family! These snowmen were created entirely by the children with very little instruction from me. They were the first snowmen the children had ever made on their own. I do have to admit that I went to the edge of the ditch for the bigger branches for the largest snowman's arms. However, they did everything else including lifting the middle ball into place! The largest one was built before lunch and they took the time to "dress" him. After they'd had lunch (and undressed the poor snowman) they built the other two!
Each snowman had a baby carrot for a nose, rocks for eyes and mouths, and stick arms. They made one for each of them as you can see from the finished product. Not bad at all for their first snow family entirely made by them! I am impressed and really proud of these three that they were able to work together as a team not just once but three times to create this wonderful scene. I was only able to enjoy it for a short time, however, due to it raining buckets that night and into the next day. And our snow angel "snowflake" was obliterated by the snow family's placement. Yet, all of us had a lot of fun making them (and watching them be made). (#2)

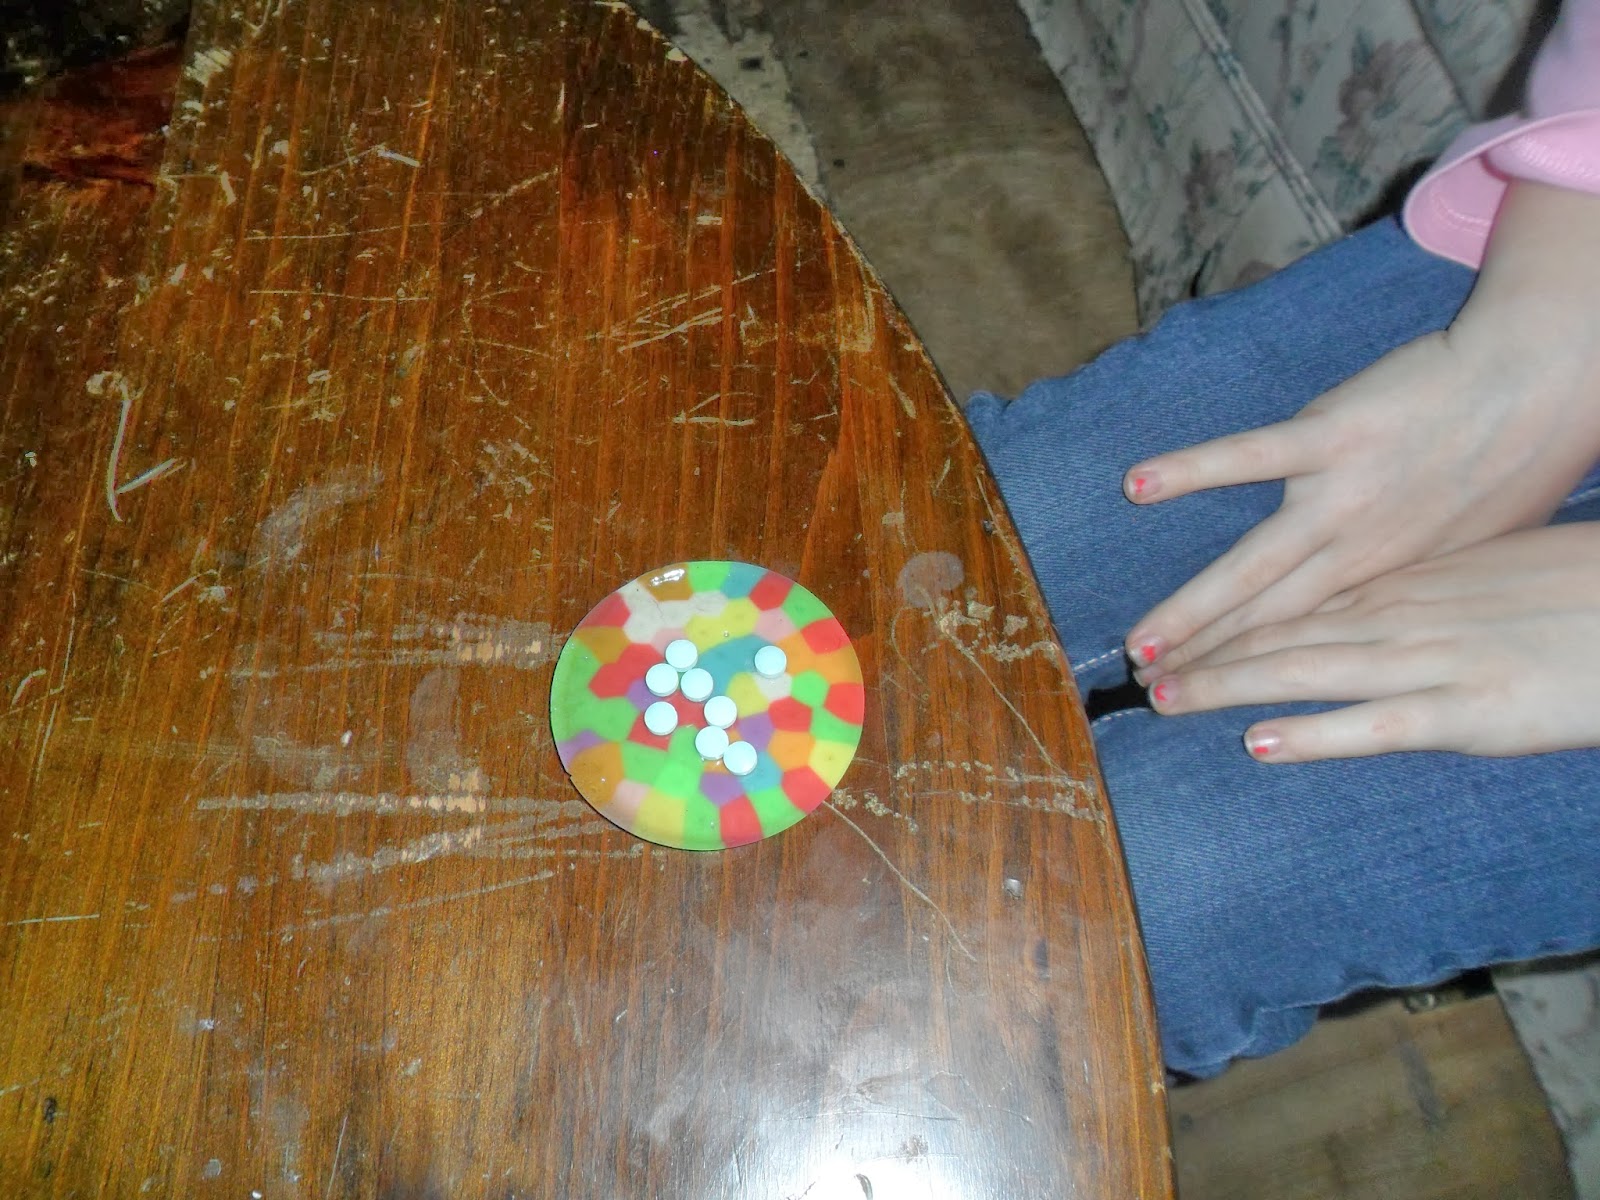
 We made sun catchers out of beads! OK, to be honest these don't really reflect the sun so well because Mommy bought the wrong type of beads! BUT, they were really fun to make and we learned from the process so we'll be making them again in the spring with the "correct" type of beads. They were really proud of making these as well and we noticed right away that these were the perfect size for doll plates or candy plates! Which is exactly what YCJ ended up using hers for in the last two pictures here! These do let a tiny bit of light through but would work much better with the semi transparent beads instead, as well as a few clear ones! (#14)
So, how did we make these neat little sun catchers/doll plates? First a warning:
** Melting plastic lets off toxic fumes, if doing this in the oven make sure that your kitchen is properly ventilated and the children and pets are not inside! It is much safer (and quicker) to do this on an outdoor grill. Also, do NOT touch melted plastic to your skin! If this does occur do NOT put cold water on it to cool the plastic down (I know it's counter intuitive)! Doing so will cause the plastic to fuse to your skin! My husband and I both learned this by working in factories. Please allow only adults to handle the plastic while it is in it's liquid form. **
Now...
Instructions on how to make melted bead sun catchers/doll plates:
Materials needed:
- semi translucent pony beads (for sun catchers) or plain old colored pony beads (for doll plates)
- a tin of some sort ... we used the extra large muffin tin (this will now be only used for this type of project) but you could make really large ones with cake tins
- an oven or an outdoor grill
How to:

Gather materials. If using an oven preheat it to 375 degrees F. You do NOT need to spray the pans before placing the beads inside.


Allow children to choose a pattern or design that they'd like for their project. All beads must be placed with the holes facing up. Little ones will mostly likely need help with this. This part does take some time to do. The larger the container/tin the longer time it will take to put all these beads in place.

This is a shot, pre-melting, of the beads inside of our tins. The original plan was for each child to make two this time around but we hadn't realized how time consuming, and for some, difficult this part of the project would be.

The tin must be carried carefully so that the beads do not flip onto their sides in the tin. Our grill was set to high and I placed it right in the middle then left my husband to keep an eye on it (he's the grill guy around here). He'd call me back to take pictures from time to time as things changed with the beads. Keeping the lid closed will help prevent you from breathing in the smoke from the melting plastic and retain the heat, but do check them often as they melt rather quickly on the grill. This could be done on a lower temperature setting.


We then set them in the snow to cool. This MAY not have been the best idea as it sort of flash hardened the plastic and one of them snapped in half (Peanut's). However, these do need to be set in an out of the way place to cool until completely hardened.

There are several ways to create a hole from which to hang these from. You could use a power drill and drill a hole, place a metal pony bead where you want the hole to be (the plastic will melt and then firmly hold it in place), or you could put a small dowel piece where you'd like the hole to be (most likely you'll need to spray the dowel so that it doesn't stick to the plastic and remove it before the plastic completely hardens). We plan on using the metal pony beads when we try this again in the spring.
A quick update on items from the bucket list that I haven't taken pictures of but are ongoing.
Everyone is saying their rosary each day! Peanut is joining her father and I most days, though some days she joins YCJ. ECJ almost always says his by himself before bed, the exception being when YCJ asks him to say it with her earlier in the day. (#7)
We're trying to choose between The Adventures of Tom Sawyer and The Swiss Family Robinson (both abridged versions to hold Peanut's interest) for our family book this month. We'll begin one or the other this week. (#11)
I've gathered all the materials for our "mailbox Monday's" item and we'll begin working on that today. Look for pictures of it next week! (#25)
YCJ and I are both working on our craft projects already. ECJ hasn't decided what he wants to do yet. Peanut says she's not ready to work on hers and it's a "prize". While Daddy has decided that his will be one of the projects that needs to get done around the house. (#10)
There are a few other things that may be completed by this time next week as well! But, I'm not going to say we will for sure or which items they may be yet!
Find us on Facebook here or subscribe to the blog for tips on homeschooling, book reviews, how to get your children helping out in the kitchen, and to see many pictures of the cute kiddos, plus much more!
I LOVE the snow angel snowflake!!! What a creative idea! If we get anymore snow, I think I'll try talking my boys into trying to make one. Could you use a iron an wax paper for the sun catchers? Or are the beads too thick for that to work?
ReplyDeleteI thought it would turn out pretty cool and it did! I'd love to see one of the boys doing it!! The beads are really too thick to do between wax paper with an iron ... but you could always borrow our grill or use yours ... It really doesn't take long to do on the grill and is waay safer done outside
Delete